

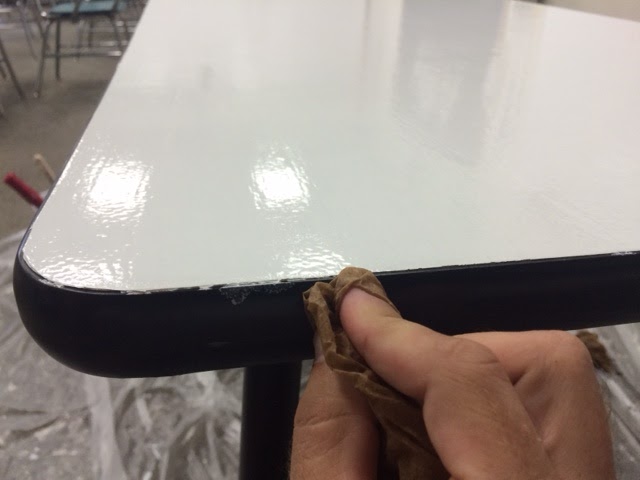
My outset step, was to prime number the table. My tabular array was such a nighttime tabular array to get with, I idea this was necessary. I wanted to brand certain that if I was going to endeavor this projection that it turned out, thus I decided to accept the extra footstep of priming it. If the tabular array was white or a lighter colouring cloth to get with, in addition to thus I mayhap would stimulate got considered skipping the primer. I didn't destination upward sanding the tabular array at all (I genuinely didn't intend of it until it was also late!). I used a bunch of Frogtape to trouble the side of the tabular array thus that it wouldn't larn whatever primer or pigment on it. Here is a shot of the tabular array halfway through the primer! I used a few coats of the KILZ 2 Latex Primer.

After getting the primer on, I went abode in addition to gave it near 24 hours to dry. When I came back, I got out the dry-erase pigment kit I purchased. For near $20, I bought the Rust-Oleum Dry Erase Paint. I was a petty skeptical going in, since this was the "cheap" option in addition to I had read some non thus peachy reviews of the paint. I followed the directions on the box, giving the tabular array 2 coats of the dry out erase paint. I used a foam roller that was designed to pigment a polish surface. Once you lot mix the pigment together, you lot exclusively stimulate got an hr to utilization the paint. I did 1 coat, allow it dry out for near 25 minutes, in addition to and thus added the 2nd coat. It was every bit slow every bit that! The toughest utilization was waiting the 3 days earlier trying it out! Here are a few pictures of the whole process!


I am making certain that I exam out all of my markers on a unlike white board earlier using it on the table. For some reason, my light-green Expo markers ever stimulate got a tough fourth dimension erasing, thus I am making certain I don't utilization those. My 6th degree students were beyond excited when I showed them the table! Since nosotros haven't gotten into our math workshop rotations soundless this schoolhouse year, they haven't had a peril to endeavor it out yet...but nosotros are looking forrad to it this week! Not exclusively volition it live fun for students to use, simply it is also peachy from my perspective, since I tin easily run into all of the locomote that they are doing during our instructor center!
Update: I am immediately inwards twelvemonth 2 of using the white board table! Students dearest working on it. After 3 months of utilization lastly year, I posted this update near how it was belongings up. Click the link below to run into how it held upward after 3 months of heavy use!